
 RO/
RO/ English
Concrete recipe - garden decorations
REQUIRED MATERIALS
1. Mold support:
- wooden boards;
- wood screws;
2. Fastening:
- metric hex head bolts with washers and nuts, Ø 8 mm.
3. Composition:
- 8 liters of water;
- 1 bucket (10 liters capacity) of white cement (52.5 – standard compressive strength
[MPa]);
- 1 bucket (10 liters capacity) of sand;
- 2 buckets (10 liters capacity) of gravel aggregate , 4–8 mm granulation.
4. Reinforcement (optional):
- a handful of polypropylene fibers for mortar and concrete.
5. Cleaning:
- water;
- household vinegar.
6. Lubrication (optional):
- Decofrol.
7. Painting:
- colored glossy enamel;
MOLD SUPPORT PREPARATION
- Build a support for the mold from wooden boards, fixed together with the wood screws.
INSTRUCTIONS FOR USE
1. Mold preparation:
- wash the molds with water and make sure they are clean;
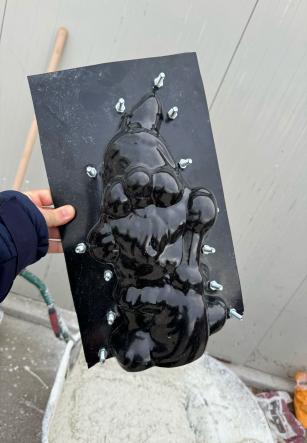
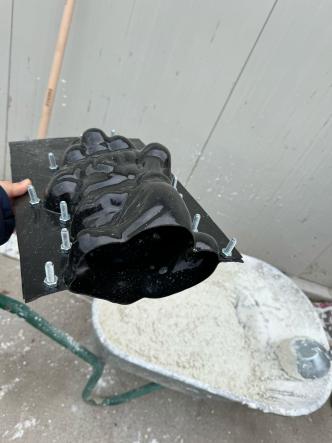
- fasten the 2 mold parts together using bolts and nuts;
2. Material preparation:
- mix the fibers separately with the cement, then add them together with water, sand, and gravel into the concrete mixer and mix everything well;
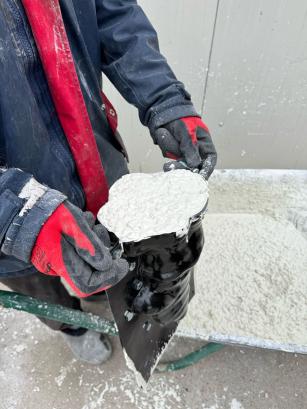
- place the mold (wet with water) into the support with the opening facing upwards, spray with Chanteclair or Decofrol degreaser, then pour the obtained mixture;

- let it dry completely for 24 / 48 / 72 hours depending on the outside temperature:
* 24 hours in summer
* 48 hours in spring/autumn
* 72 hours in winter (indoors, if the room is unheated)
- after complete drying, unscrew the bolts and remove the molds;
- leave the decoration to dry further in a vertical position until completely dry;
CLEANING
Put water and household vinegar into the molds, then use a soft sponge to remove all
residues.
PAINTING
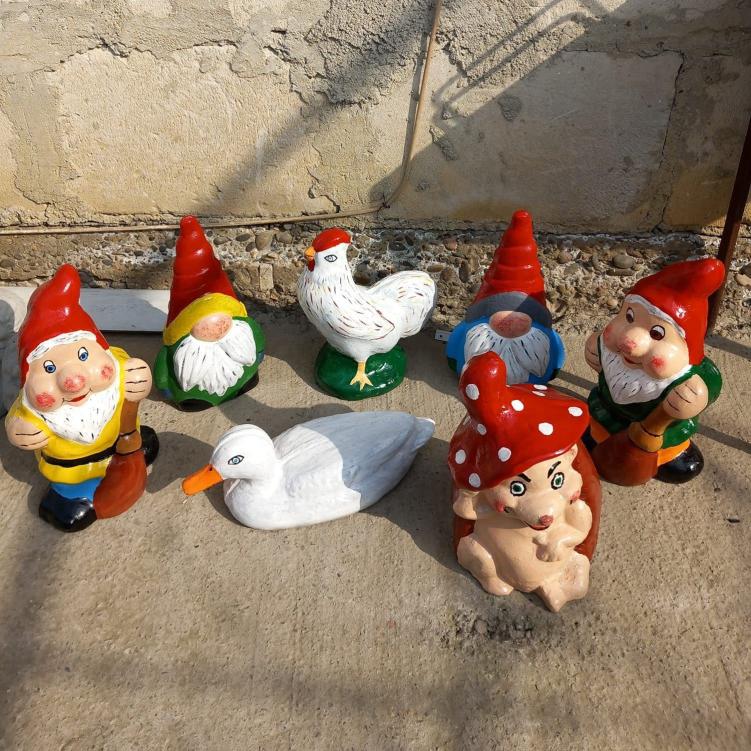
Once the decorations are completely dry, paint them with a brush according to your
preference.
1. Mold support:
- wooden boards;
- wood screws;
2. Fastening:
- metric hex head bolts with washers and nuts, Ø 8 mm.
3. Composition:
- 8 liters of water;
- 1 bucket (10 liters capacity) of white cement (52.5 – standard compressive strength
[MPa]);
- 1 bucket (10 liters capacity) of sand;
- 2 buckets (10 liters capacity) of gravel aggregate , 4–8 mm granulation.
4. Reinforcement (optional):
- a handful of polypropylene fibers for mortar and concrete.
5. Cleaning:
- water;
- household vinegar.
6. Lubrication (optional):
- Decofrol.
7. Painting:
- colored glossy enamel;
MOLD SUPPORT PREPARATION
- Build a support for the mold from wooden boards, fixed together with the wood screws.
INSTRUCTIONS FOR USE
1. Mold preparation:
- wash the molds with water and make sure they are clean;
- fasten the 2 mold parts together using bolts and nuts;
2. Material preparation:
- mix the fibers separately with the cement, then add them together with water, sand, and gravel into the concrete mixer and mix everything well;
- place the mold (wet with water) into the support with the opening facing upwards, spray with Chanteclair or Decofrol degreaser, then pour the obtained mixture;
- let it dry completely for 24 / 48 / 72 hours depending on the outside temperature:
* 24 hours in summer
* 48 hours in spring/autumn
* 72 hours in winter (indoors, if the room is unheated)
- after complete drying, unscrew the bolts and remove the molds;
- leave the decoration to dry further in a vertical position until completely dry;
CLEANING
Put water and household vinegar into the molds, then use a soft sponge to remove all
residues.
PAINTING
Once the decorations are completely dry, paint them with a brush according to your
preference.
Suport clienti
Luni- Vineri: 09:00 - 17:00 (pauza masa 12:00 - 13:00)
Sambata - Duminica : inchis