UP TO 18% AUTUMN DISCOUNT! TAKE ADVANTAGE NOW! International delivery to EU member countries!

 EN/
 Romana
Garden Decoration Mix Recipe
REQUIRED MATERIALS
1. Mold support:
- wooden boards;
- wood screws;
2. Assembly:
- M8 hex head bolts with washers and nuts
3. Mix composition:
- 4 liters of water;
- 1 bucket (10 liters) of marble aggregate;
- 1/2 bucket (10 liters) of white cement (we recommend Holcim Blanco Plus);
- 1/2 bucket (10 liters) of marble powder;
4. Reinforcement:
- a handful of polypropylene fibers for mortar and concrete (we recommend Sika);
5. Cleaning:
- water;
- white vinegar.
6. Mold release:
- Chanteclair Universal Degreaser
7. Painting
- water-based colored paint;
BUILDING THE MOLD SUPPORT
- Build a support frame for the mold using wooden boards fastened together with wood screws.
INSTRUCTIONS FOR USE
1. Mold preparation:
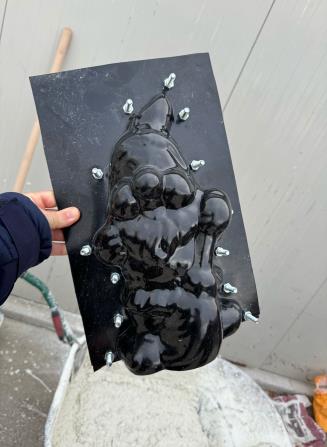
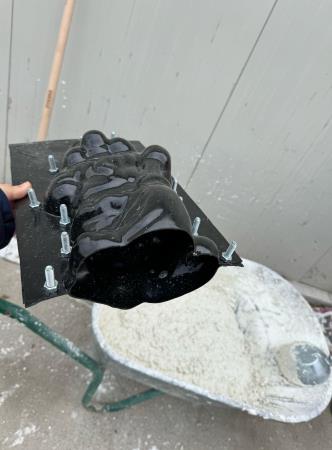
- wash the molds with water and make sure they are clean;
- fasten the two mold halves together using the bolts and nuts;
2. Material preparation:
- first mix the polypropylene fibers with the cement, then add them together with the water, marble aggregate, and marble powder into the concrete mixer and mix thoroughly.
- with the mold placed in its support, spray it with Chanteclair Universal Degreaser, then pour in the prepared mixture;
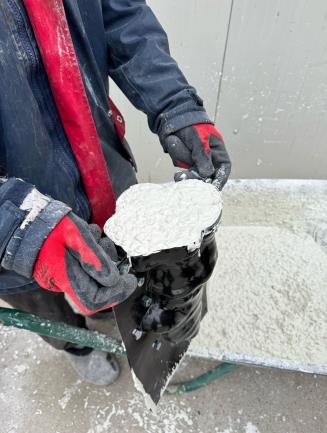
- allow it to dry completely for 24/48/72 hours, depending on the outside temperature: 24 hours in summer, 48 hours in spring/autumn, and 72 hours in winter (indoors if the room is unheated).
- once fully cured, remove the bolts and separate the mold halves.
- leave the decoration to continue drying in a vertical position until it is completely dry.
CLEANING
Fill the molds with water and white vinegar, then use a soft sponge to remove all residue.
PAINTING
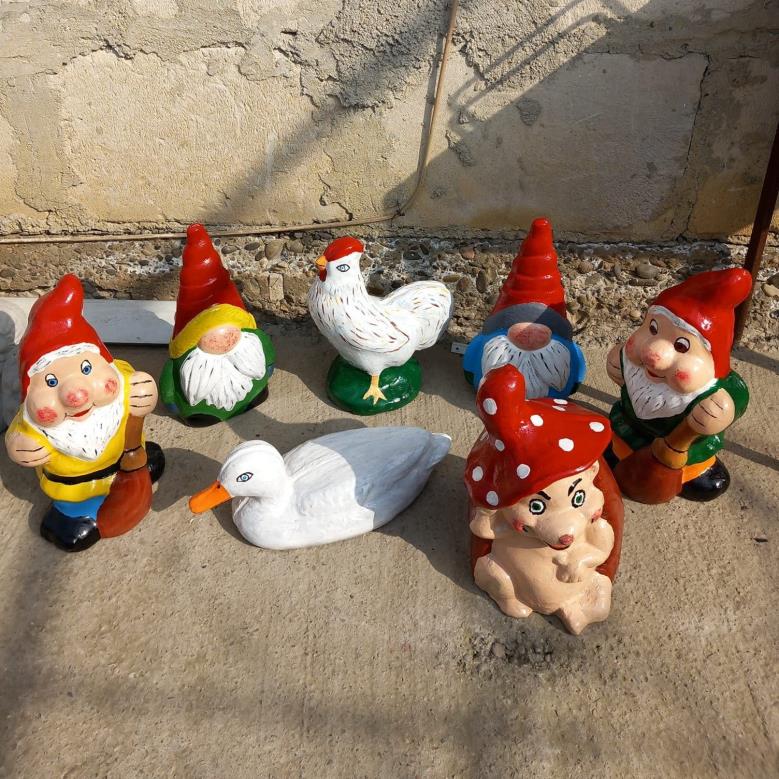
Once the decorations are completely dry, paint them with a brush using colors of your choice.
1. Mold support:
- wooden boards;
- wood screws;
2. Assembly:
- M8 hex head bolts with washers and nuts
3. Mix composition:
- 4 liters of water;
- 1 bucket (10 liters) of marble aggregate;
- 1/2 bucket (10 liters) of white cement (we recommend Holcim Blanco Plus);
- 1/2 bucket (10 liters) of marble powder;
4. Reinforcement:
- a handful of polypropylene fibers for mortar and concrete (we recommend Sika);
5. Cleaning:
- water;
- white vinegar.
6. Mold release:
- Chanteclair Universal Degreaser
7. Painting
- water-based colored paint;
BUILDING THE MOLD SUPPORT
- Build a support frame for the mold using wooden boards fastened together with wood screws.
INSTRUCTIONS FOR USE
1. Mold preparation:
- wash the molds with water and make sure they are clean;
- fasten the two mold halves together using the bolts and nuts;
2. Material preparation:
- first mix the polypropylene fibers with the cement, then add them together with the water, marble aggregate, and marble powder into the concrete mixer and mix thoroughly.
- with the mold placed in its support, spray it with Chanteclair Universal Degreaser, then pour in the prepared mixture;
- allow it to dry completely for 24/48/72 hours, depending on the outside temperature: 24 hours in summer, 48 hours in spring/autumn, and 72 hours in winter (indoors if the room is unheated).
- once fully cured, remove the bolts and separate the mold halves.
- leave the decoration to continue drying in a vertical position until it is completely dry.
CLEANING
Fill the molds with water and white vinegar, then use a soft sponge to remove all residue.
PAINTING
Once the decorations are completely dry, paint them with a brush using colors of your choice.